Elevate Your Travel Photography
A Guide to Using Focal Lengths from 24mm to 200mm
Travel photography captures more than just the places you visit; if you are doing it correctly, it encapsulates the essence of a destination, its people, landscapes, culture, and vibrancy. One of the most crucial but often overlooked aspects of travel photography is focal length. Each focal length—wide, standard, and telephoto—has unique attributes and qualities that help tell a different aspect of your story. This guide will take you through using various focal lengths to elevate your travel photos and bring your journey to life. Let’s go!
Ever come back from holiday, full of memories, only to find that your photos dont reflect the great time you had?
Capturing the essence of a place, from sprawling landscapes to intimate portraits, requires more than just pointing a camera. Choosing the right focal length can make all the difference, helping you portray not only the scene but also the story behind it. This guide explores how to use five essential focal lengths in travel photography - 24mm, 35mm, 50mm, 85mm, and 70–200mm - to capture the full range of travel experiences, from epic panoramas to exquisite portraits.
Why Focal Length Matters in Travel Photography
In photography, focal length dictates the angle of view and the sense of depth in your images. Shorter focal lengths (like 24mm and 35mm) offer wide angles, allowing you to capture environmental scenes. Meanwhile, longer focal lengths (such as 85mm or 200mm) provide narrower views, ideal for isolating details and creating separation between your subject and background. By mastering these five focal lengths, you’ll be able to capture every aspect of your travel experience effectively.
The Versatile Focal Lengths for Travel Photography
Let’s dive into each focal length, exploring what it’s best suited for and how to make the most of it in your travel shots.
Wide-Angle Views: 24mm
A 24mm lens is a popular wide-angle choice in travel photography, offering a broad field of view that captures the depth and scale of a scene. This focal length is perfect for conveying a sense of the place you are in.
When to Use 24mm
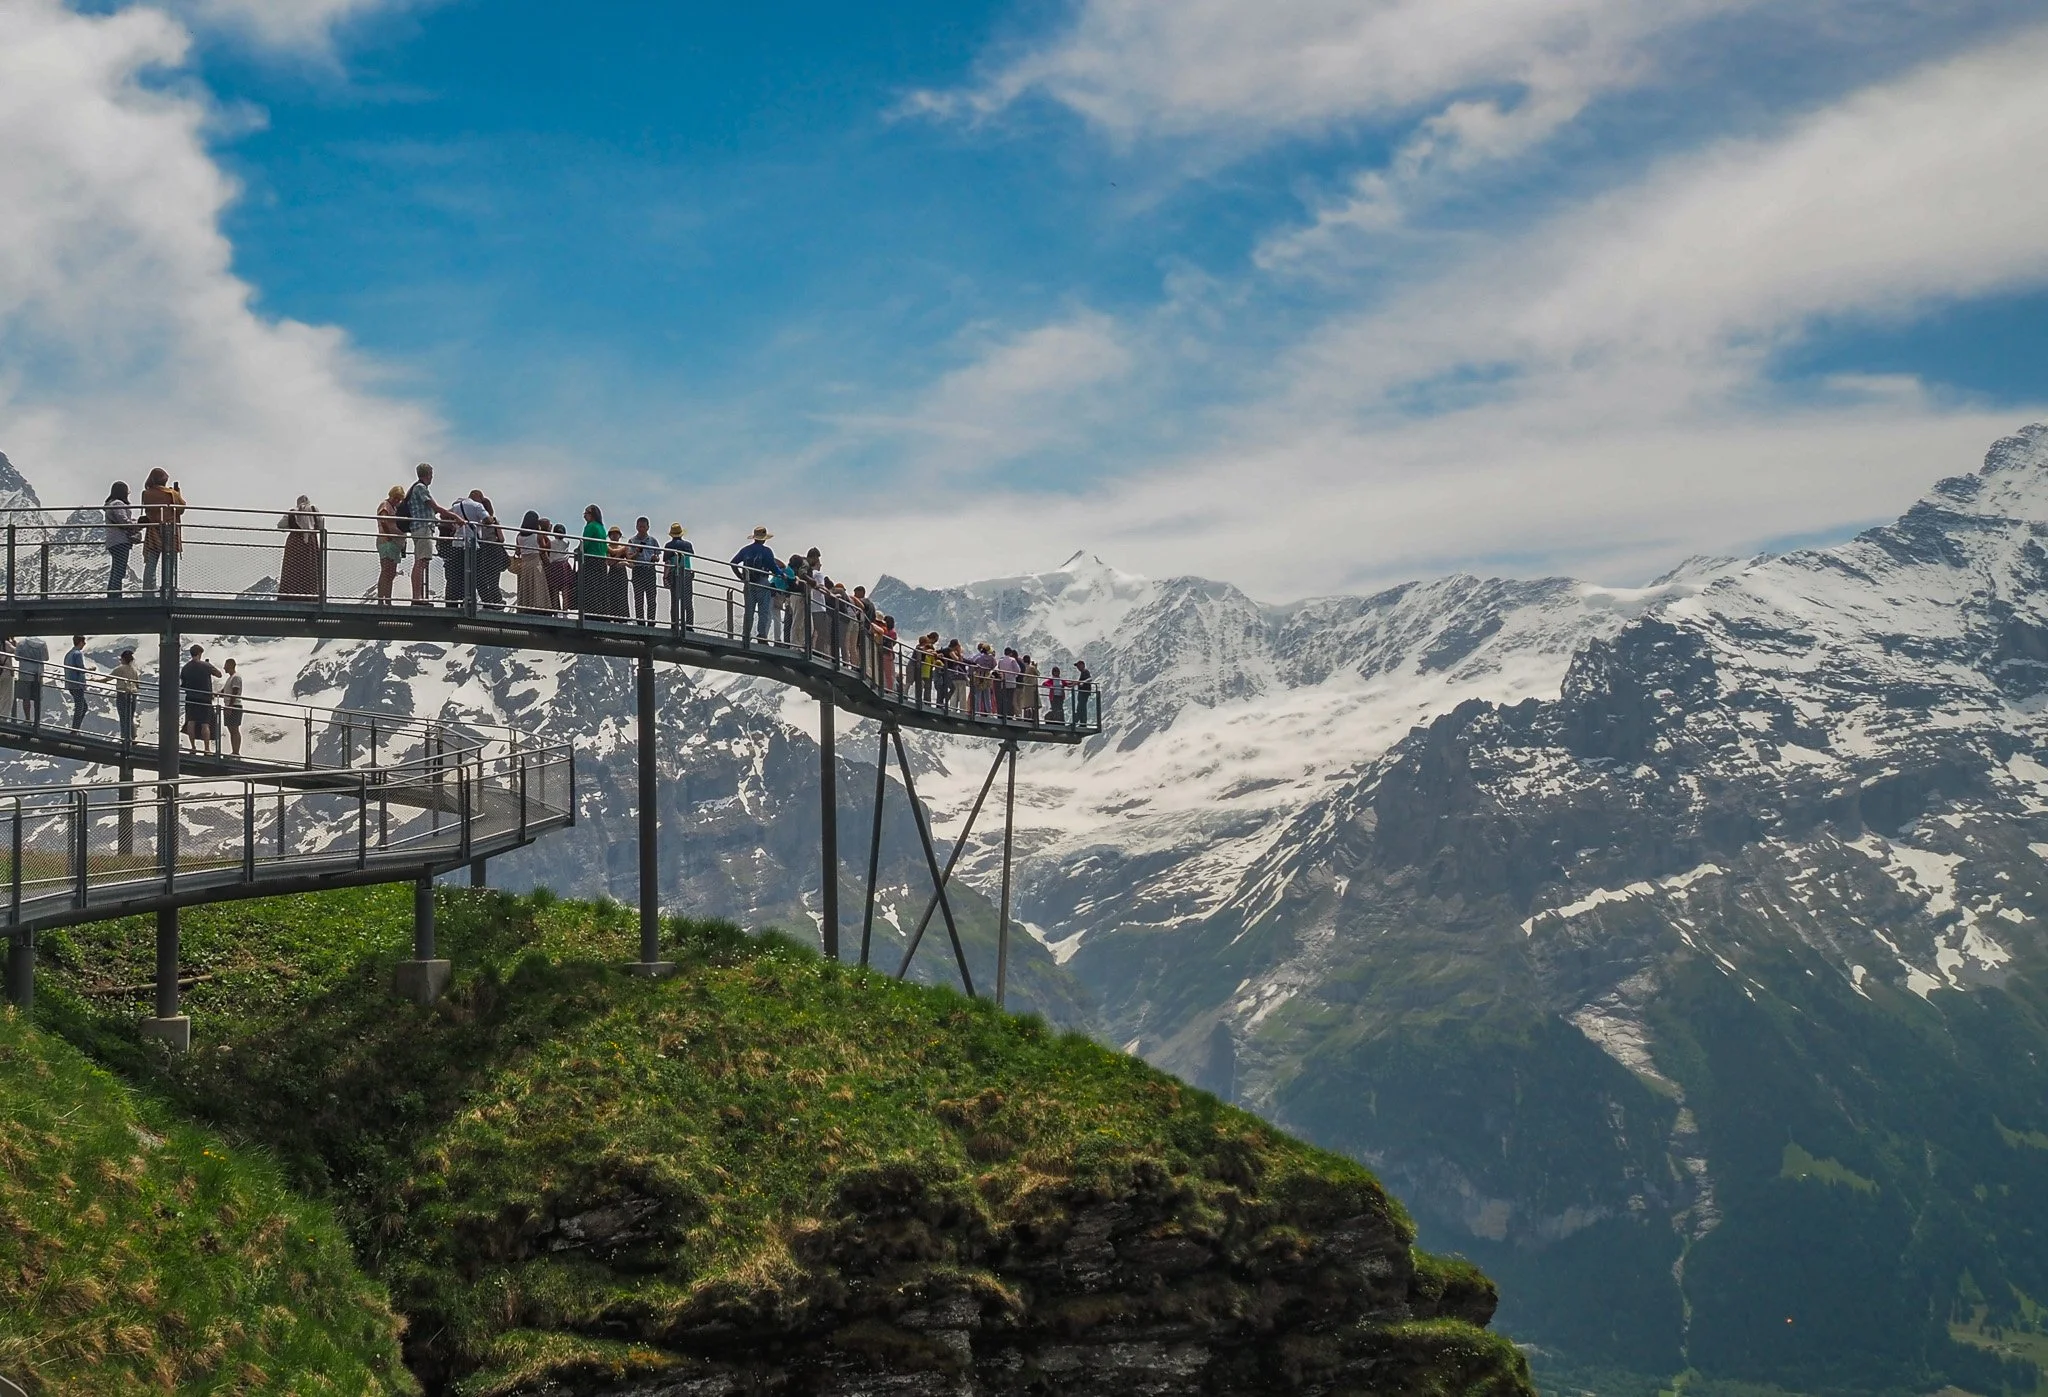
Landscapes and Panoramas: If you’re photographing big landscapes like the Grand Canyon or the Swiss Alps, a 24mm lens allows you to include sweeping views while still capturing foreground details, which helps convey a sense of depth.
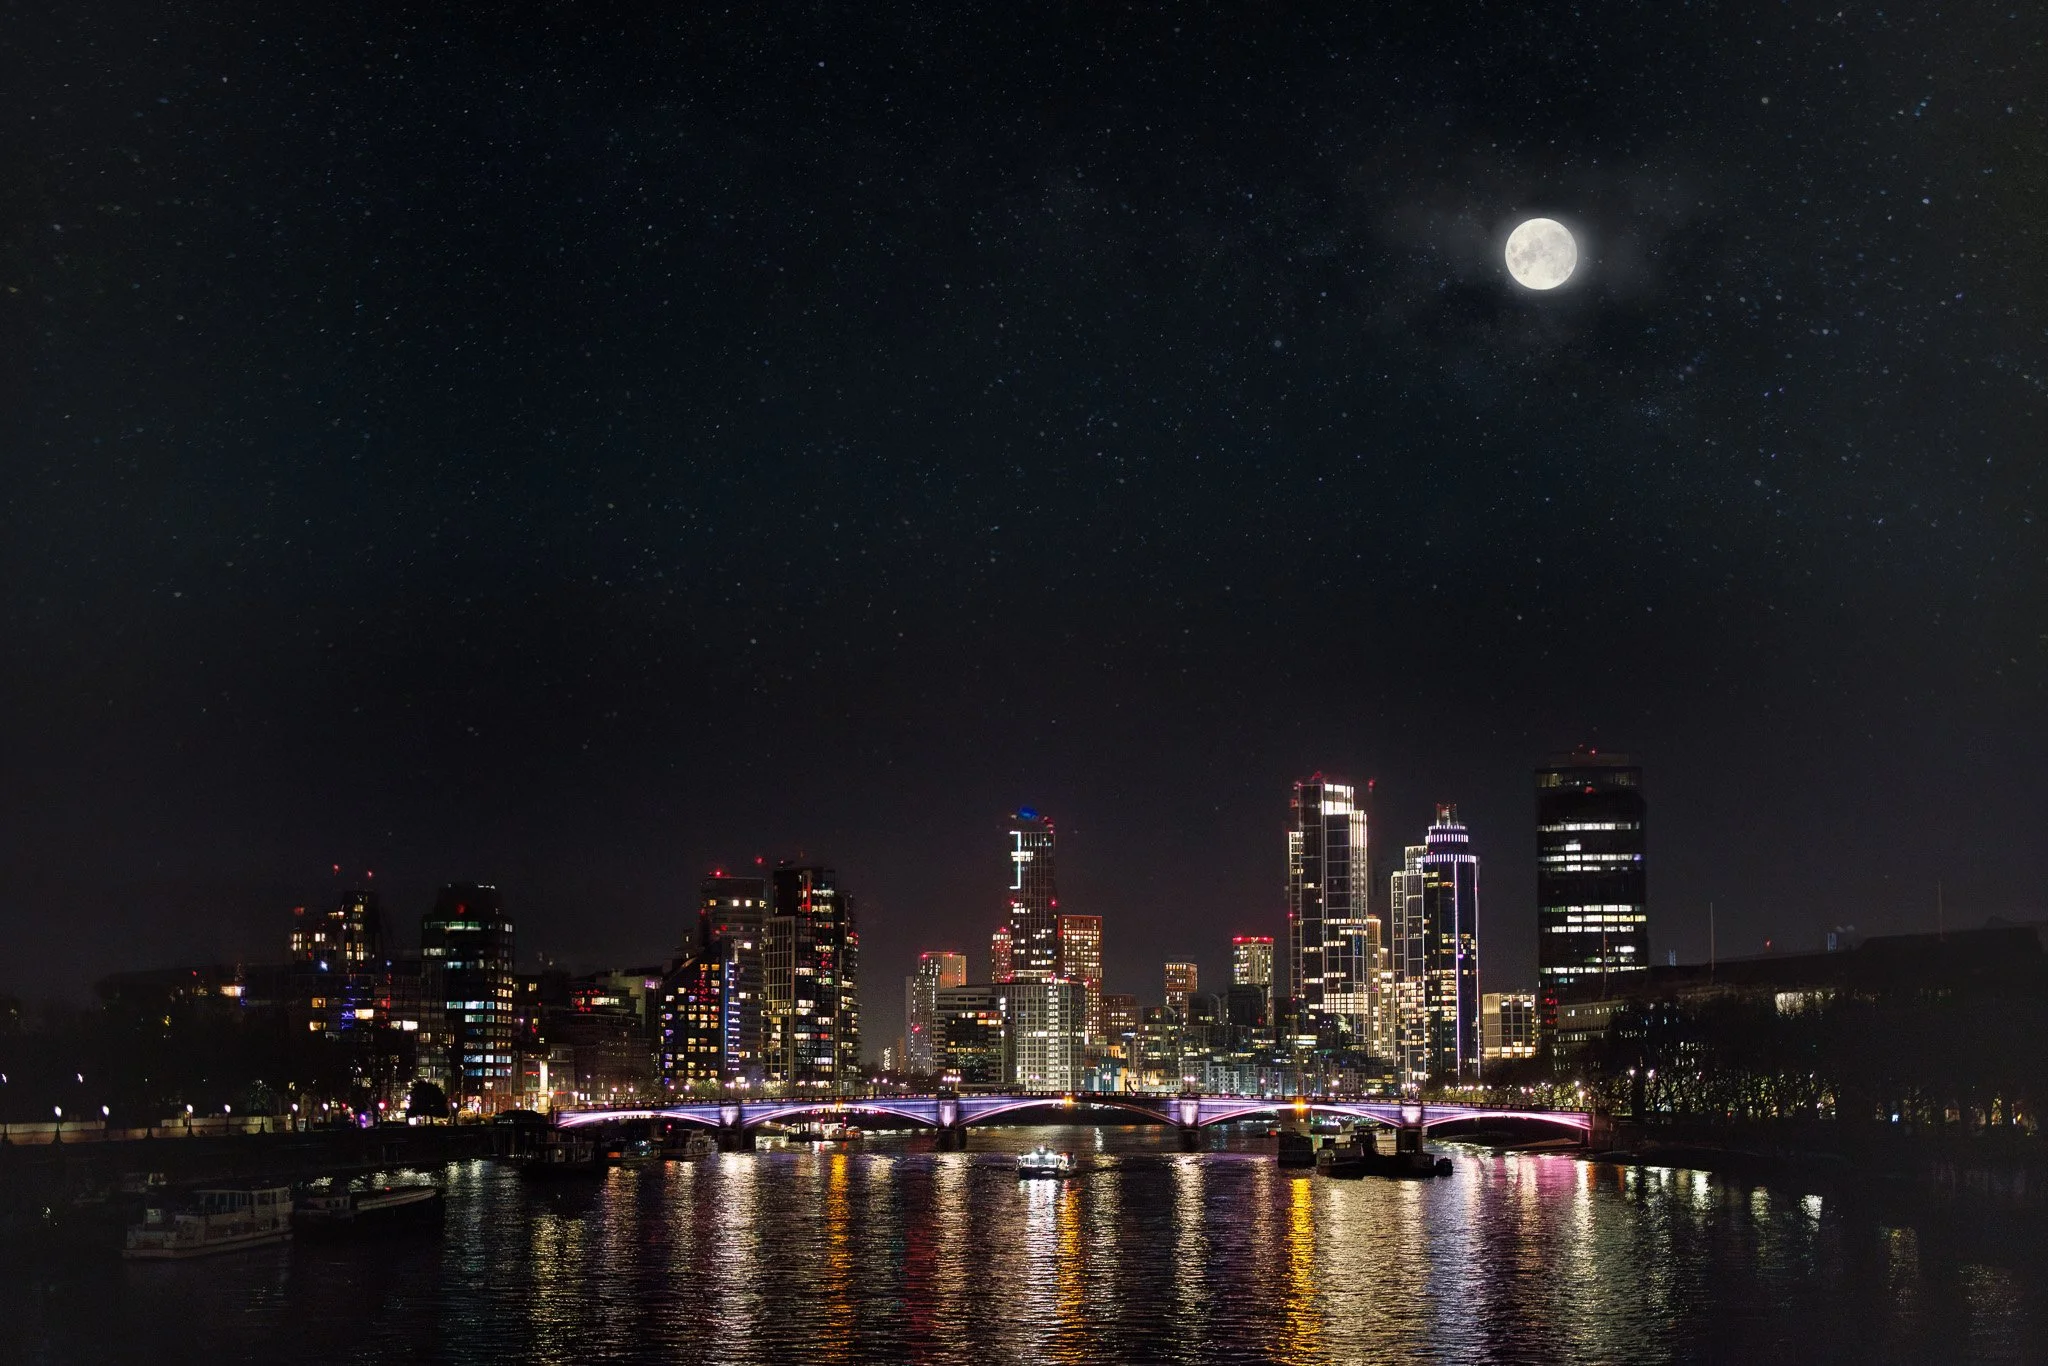
Cityscapes and Architecture: The 24mm focal length is ideal for showcasing tall buildings or expansive city views. You can get close up to structures and still fit them fully in the frame, even in narrow streets.
Environmental Portraits: When you want to photograph people in their environment, the 24mm lens includes enough of the background to tell a story without overwhelming the subject.
Tips for Using 24mm
Get Close: Wide-angle lenses can make subjects appear small if you’re too far away. Move closer to emphasize foreground subjects, which also helps add depth to your images.
Watch for Distortion: While it’s great for architecture, a 24mm can create perspective distortion, especially on the edges of the frame. Position people and key elements near the center to minimize this.
Use Leading Lines: Take advantage of natural lines—like roads, rivers, or rows of trees—that lead into the frame and draw the viewer’s eye into the scene.
35mm: The Classic All-Rounder
The 35mm focal length is a favorite among travel photographers due to its versatility. It provides a slightly wider view than the human eye but retains a natural perspective, making it ideal for a range of subjects.
When to Use 35mm
Street Photography: The 35mm lens allows you to photograph people and scenes up close without feeling intrusive. Its moderate angle of view makes it great for candid shots in busy streets, markets, or squares.
Environmental Portraits: If you want to photograph people with their surroundings—like a fisherman on a boat or a vendor at a market—the 35mm includes enough background context without overwhelming the subject.
Food and Market Scenes: 35mm is a natural choice for capturing vibrant market scenes or food photography, letting you focus on your subject while incorporating elements of the environment.
Tips for Using 35mm
Balance Foreground and Background: The 35mm lens is great for including background details. Use this to tell a story by balancing the subject with the environment.
Avoid Getting Too Close: While 35mm has minimal distortion, moving too close can still exaggerate facial features. Maintain a moderate distance when photographing people.
Experiment with Aperture: A wide aperture (f/2.8 or lower) at this focal length helps blur the background, creating a dreamy effect for portraits while keeping the surroundings recognizable.
50mm: Natural Perspective for Everyday Moments
The 50mm lens, often called the “nifty fifty,” is close to the human eye’s natural field of view. It’s highly versatile and works well in various travel settings, from portraits to street photography.
When to Use 50mm
Portraits: For one on one portraits, the 50mm focal length is ideal. It offers minimal distortion, allowing you to capture sharp, flattering images.
Candid and Street Photography: The 50mm is discreet enough for street photography, providing a balance between wide and close-up views.
General Travel Scenes: If you’re only carrying one lens, the 50mm works well for various types of travel shots, whether you’re photographing a café scene, a sunset over a lake, or an artist at work.
Tips for Using 50mm
Perfect Your Composition: Since the 50mm lens provides a natural perspective, pay attention to composition. Use the rule of thirds and leading lines to create interest.
Use It for Low-Light Scenes: The 50mm typically has a wide maximum aperture (f/1.8 or f/1.4), making it ideal for low-light situations, like evening street photography or indoor shots.
Create Background Blur: When photographing portraits, use a wide aperture to create a beautiful bokeh effect that separates the subject from the background while keeping the natural context visible.
85mm: Beautiful Portraits and Subject Isolation
An 85mm lens is often considered the ideal focal length for portraits. It provides enough compression to flatter facial features while creating a soft, defocused background. This focal length is also useful for capturing details from a distance without the distortion associated with wider angles.
When to Use 85mm
Portrait Photography: The 85mm focal length flatters subjects by compressing facial features, making it ideal for capturing locals, travelers, or people you meet along the journey.
Street and Detail Shots: Use 85mm to capture street portraits without getting too close. This lens is also handy for isolating details like architectural patterns, window decorations, or ornate carvings.
Landscape Details: Although it’s a longer focal length, 85mm can work well in landscapes, isolating elements like a row of trees, mountain peaks, or a distant lighthouse to create a sense of scale.
Tips for Using 85mm
Step Back: With an 85mm, you’ll need a bit of distance between you and your subject. This distance helps create a flattering perspective for portraits.
Use for Selective Focus: The 85mm lens can create beautiful background blur (bokeh) when using a wide aperture. This is especially helpful for portraits and detail shots.
Frame for Compression: Use the compression effect of the 85mm to bring background elements closer, like a distant mountain or building, creating a more intimate feel in landscapes.
70–200mm: Flexibility for Long-Distance Shots and Wildlife
The 70–200mm telephoto zoom lens is a versatile option, giving you a broad range of focal lengths suitable for wildlife, landscapes, and isolated subject shots. This lens allows you to capture details from afar, making it perfect for scenarios where getting close isn’t an option.
When to Use 70–200mm
Wildlife Photography: If you’re on a safari or photographing birds, the 70–200mm lens lets you capture animals in their natural habitat without disturbing them.
Landscape Compression: A 70–200mm lens is fantastic for compressing distances in landscapes, which brings foreground and background elements closer together. This effect is ideal for mountain ranges or layered landscapes.
Distant Details and Architecture: In cities or crowded tourist spots, use this lens to isolate architectural details, like a church spire, without including distracting elements in the foreground.
Tips for Using 70–200mm
Stabilize Your Camera: Telephoto lenses are more prone to shake, so consider using a tripod or image stabilization to keep images sharp.
Experiment with Compression: Use the compression effect to bring background elements closer to the subject. This is particularly useful for landscapes, as it creates a dramatic, layered effect.
Frame Tight for Isolated Shots: For wildlife or distant detail shots, zoom in to 200mm to fill the frame, isolating your subject and reducing distractions.
Mastering focal lengths transforms your travel photography by allowing you to capture a richer, more varied perspective of your journey. From big landscapes to intimate portraits, each focal length brings something special to your photos. With practice, you’ll instinctively know which focal length will best capture each moment, helping you create lasting memories from your adventures. And all this applies to your camera phone too by the way. In fact more and more I use my phone to support my camera when travelling. Sometimes a camera is not only much less noticeable but much less intimidating too. So there you go.
Happy shooting!


